
Beginner’s Guide to Replacing Laptop Parts Safely
Opening a laptop for the first time can feel intimidating, but with the right mindset and a few essential precautions, it’s a perfectly safe and rewarding experience. This guide is designed to give you the confidence to start your repair journey without fear of damaging your hardware or yourself.
1. Power and Battery Safety
The golden rule of laptop repair: Never work on a powered device. Before you even pick up a screwdriver, ensure the charger is unplugged. If your laptop has a removable battery, take it out immediately. For modern laptops with internal batteries, your first priority after opening the back cover should be to carefully disconnect the battery cable from the motherboard.
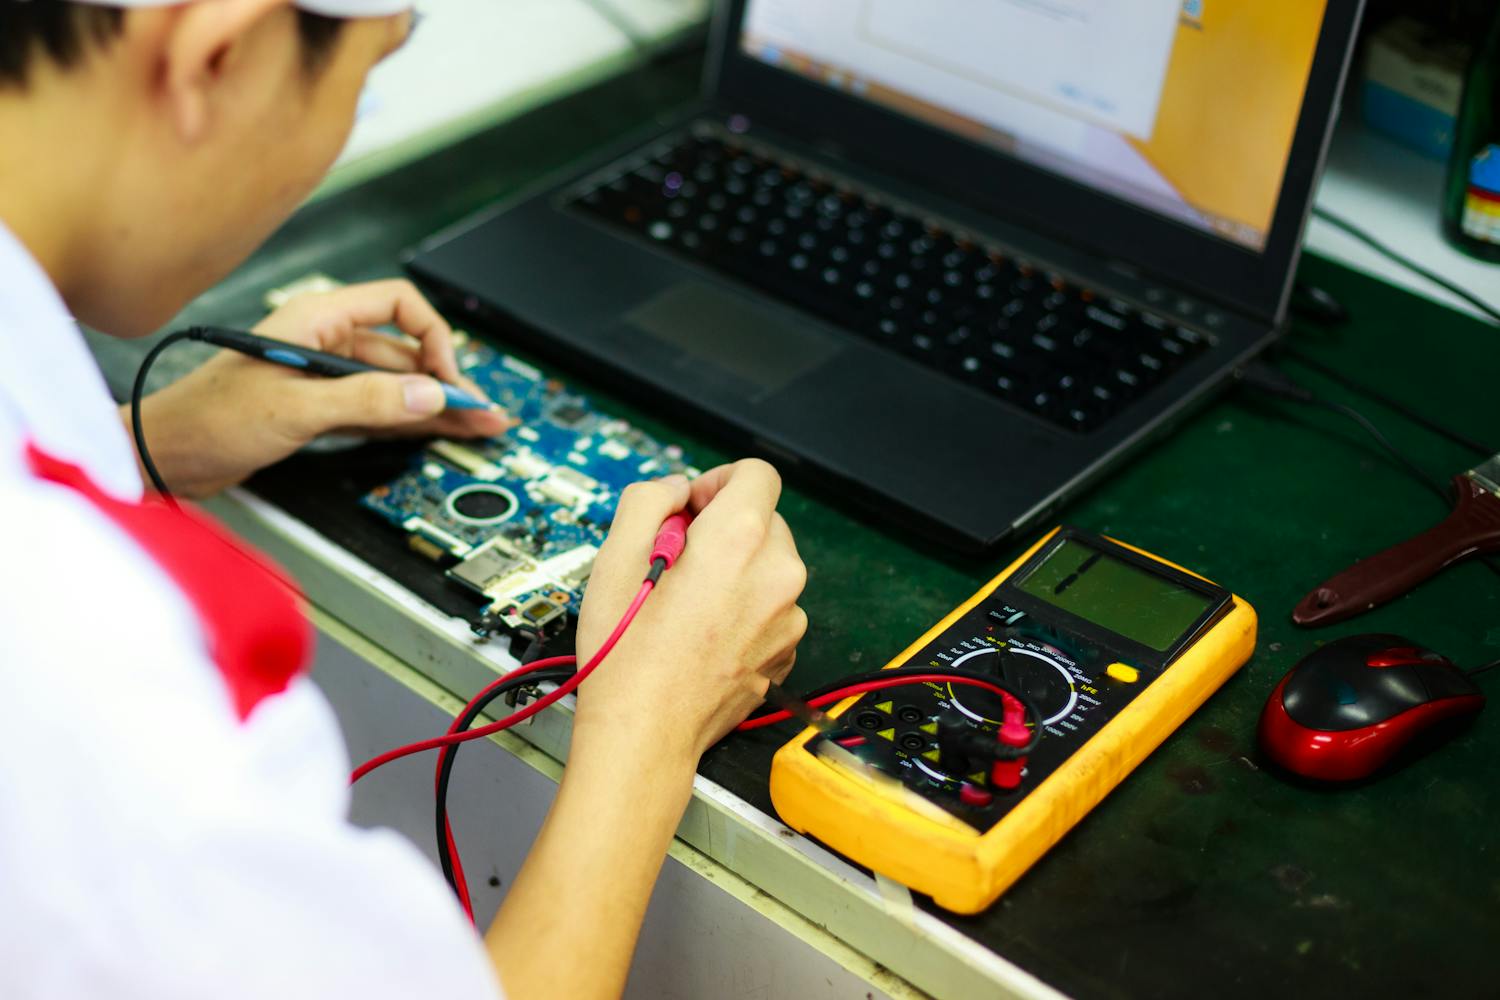
2. Static Electricity (ESD) Basics
Electrostatic Discharge (ESD) is the invisible enemy of electronics. A tiny spark you can't even feel can fry a sensitive microchip. To stay safe, work on a hard, flat surface (avoid carpets!). Periodically touch a grounded metal object, or better yet, wear an inexpensive anti-static wrist strap connected to a grounded point.
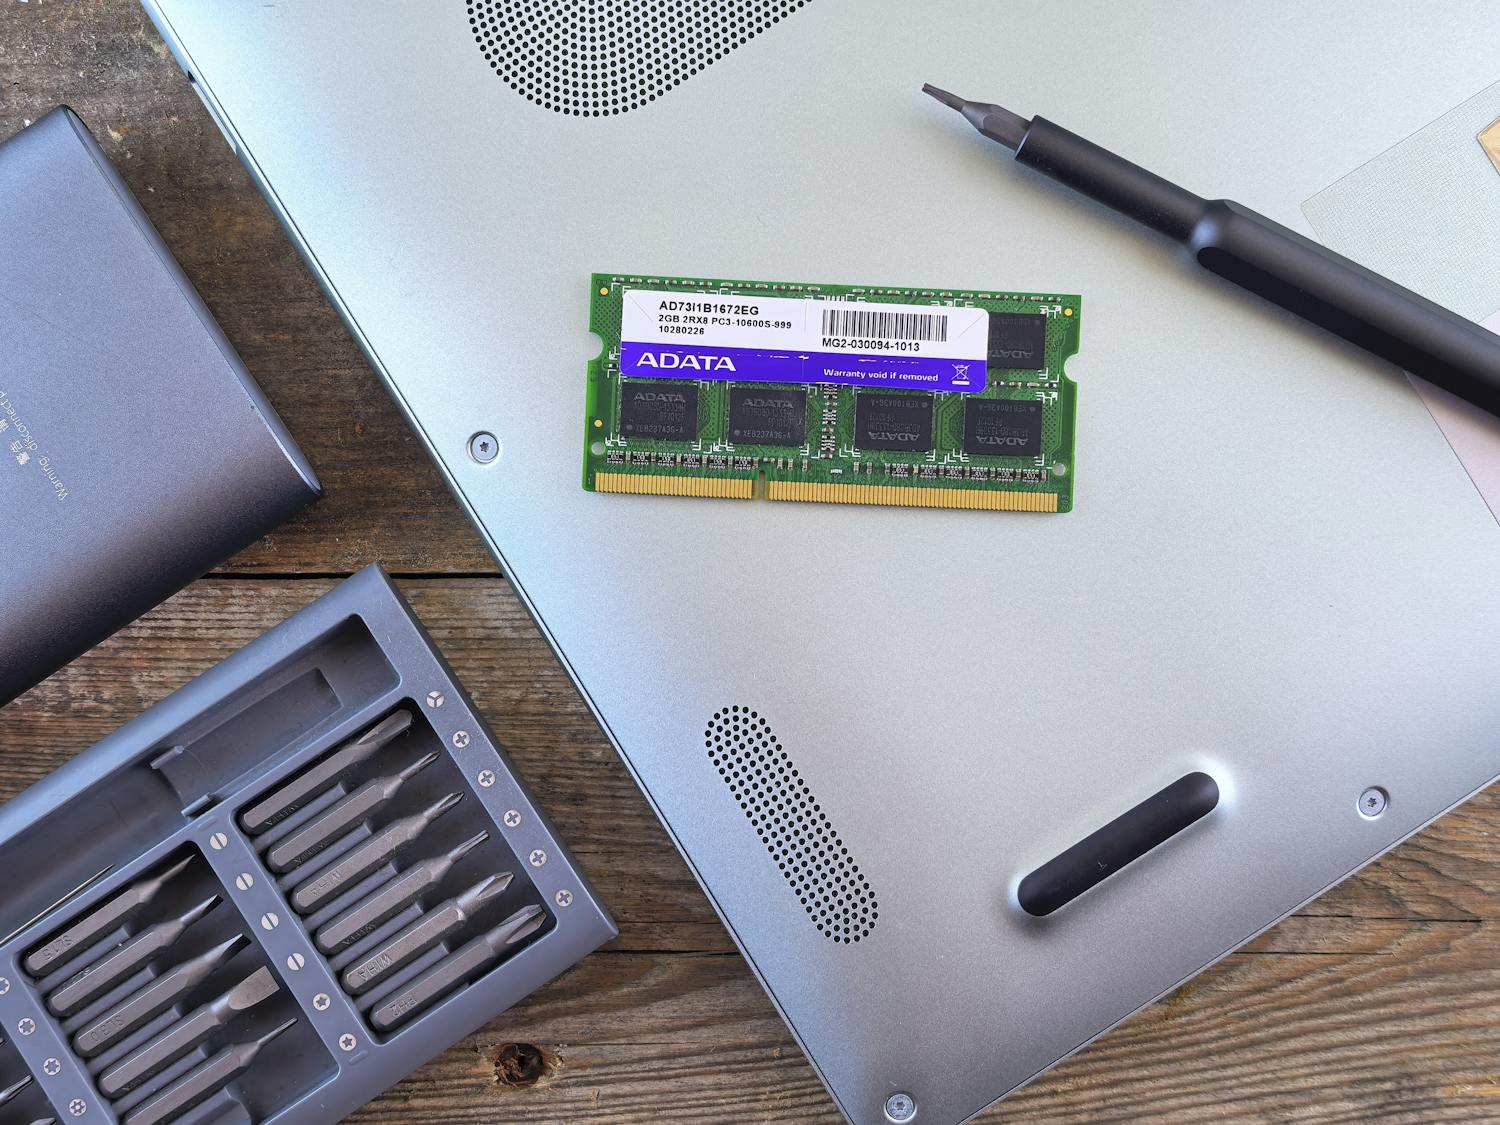
3. Organizing Screws and Parts
Laptops use dozens of tiny screws of different lengths. Putting a long screw into a hole meant for a short one can pierce the motherboard or crack the screen. Use a magnetic project mat or a simple ice cube tray to organize your screws by the step in which you removed them. Labeling your parts as you go is a beginner's best friend.
4. Avoiding Common Mistakes
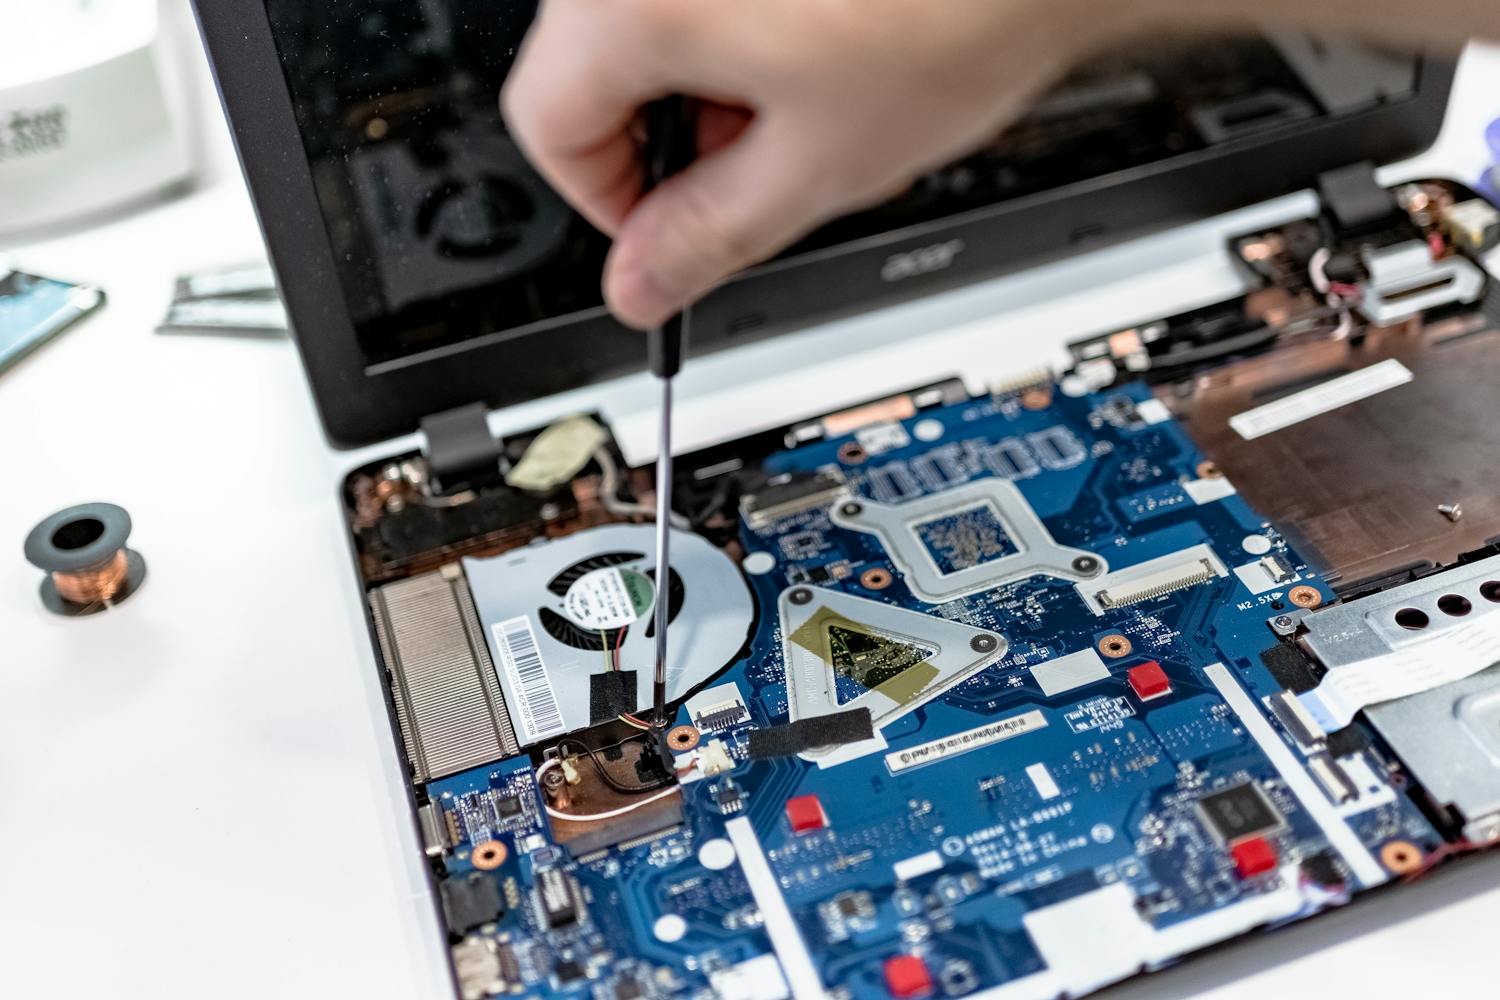
Avoid using excessive force. If a part isn't moving, there's likely a hidden screw or a plastic clip holding it in place. Always use the correct size screwdriver—stripping a screw head is a headache you don't want. Take your time; the goal is a successful repair, not a fast one.